

How to Add, Edit or Delete a User in WordPress
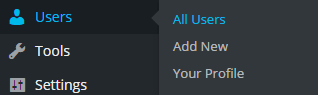 Once you are established with your new WordPress website, you will likely want to add new users so that they can help you write new content or manage your existing content. Thankfully, WordPress makes this extremely easy. In your WordPress Dashboard, hover your mouse over Users then click All Users.
Once you do that, this page will appear.
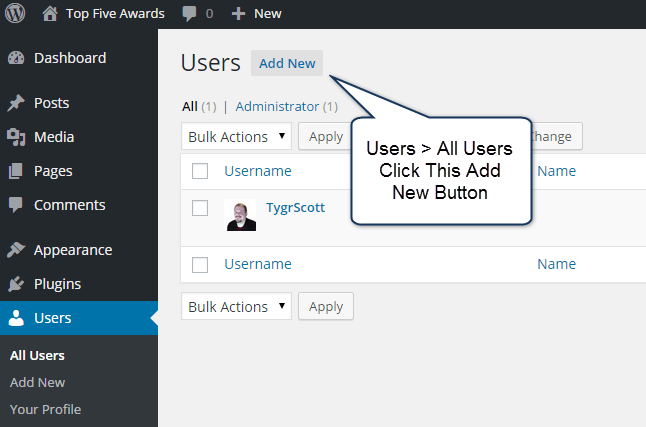
Click “Add New”
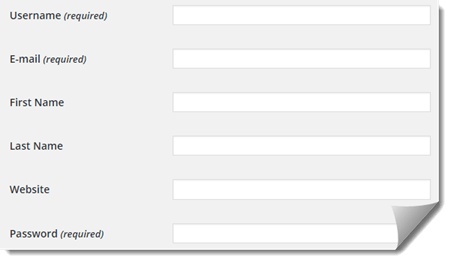 From there, everything is straight forward.
Username: This is used by the new person to log in to your website.
Email: Make sure this is their real email address that way if they forget their password, they can do a password recovery.
First / Last Name: This can be used and displayed on your website depending on your theme.
Make sure you create a very secure password for them to use.
Send Password? This is an option you can use to send the username and password to your new user. We typically do not use this function opting instead to craft our own email that explains how to add new content to the site.
Role: Need help understanding user roles? Click that link to learn about the default user roles to help you understand what they are and what role you should assign.
Then click the “Add New User” button.
Editing a User – Access Additional Options
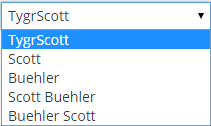 Head back to Users > All Users and click on their username or the edit link below their username. On this page, you can edit the profile name, nickname and as we’re showing here in our screenshot, the Display name publicly as option which is how the name will appear on your front-end pages.
Visual Editor: You may disable the visual editor which is the traditional editor that you use to style your content. If you want to provide an environment for your writers to simply copy / paste text that you will then style yourself, that’d be a great example of why you’d disable the visual editor.
Admin Color Scheme: There’s 8 color schemes for your users to choose from.
Keyboard Shortcuts: Certain user roles allow comment moderation which allows for keyboard shortcuts to be used. You may disable keyboard shortcuts to help prevent your authors from styling comments and to prevent accidental actions like marking a comment as spam with the s key.
Toolbar: The black floating toolbar when viewing your website’s front-end is enabled by default on all logged in users. If you wish, you can disable that toolbar if needed.
There’s a new section here called About Yourself that you or the new user will be able to add or edit their Biographical Info. Depending on the theme you use, you may or may not see this information on the approved content they share.
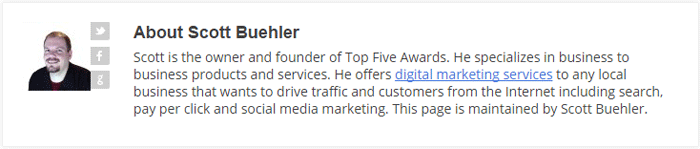
You may notice that there is an “About Scott Buehler” at the bottom of this page that shares a little information about me. This is all done in the edit profile area in WordPress and you can even add text links using simple HTML as shown below.
He offers <a href="http://www.scottbuehler.com">digital marketing services</a> to any local business
Simply edit the HTML and text and it will be transferred to a text hyperlink that people can click.
Other Profile Editing Options
Depending on the theme you use and plugins installed, you may notice that there are additional options on this page to fill out for each user. For instance, WordPress SEO, a recommended SEO Tool, will add a WordPress SEO Settings area that will allow you to customize the author page title, meta description and more.
Deleting a WordPress User
 Users > All Users.
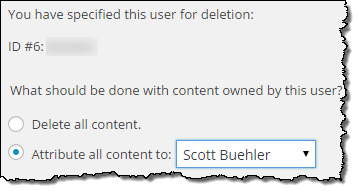
Hover your mouse over the user and then click the red “Delete” link. This will always take you to the screen shown here where you will have final options to complete before deleting the user.
Delete all Content: For most (with a few exceptions), you should not delete all content because it will remove content from your website causing 404 errors and other issues. If a writer has left your website and you simply want to remove the user while keeping their content, you’d choose the other option.
Attribute All Content to: This will change all of the content under the user being deleted to be attributed / assigned to a different user that you select. While most will simply assign content to the main admin account, you may also consider a <Sitename> Staff username that you assign these posts to so that it doesn’t appear that you, the admin, wrote the content. In our case, this would be our Top Five Advisor Staff account.
Once done, click the Confirm Deletion button and the user will be removed from your website.