10
Social media is everywhere and I love it! I’m always on the look-out for awesome and trendy social media icon collections that can be freely downloaded and used on your website(s). These are my favorite collections that I’ve bookmarked and discovered in my search for free premium trendy social media icons.
Below, you will find my collection of 25 awesome social media icon sets.
This post was last updated on April 22nd, 2015 which includes updated URLs, fixed 404s and added new sets to the mix from our 2014 edition.
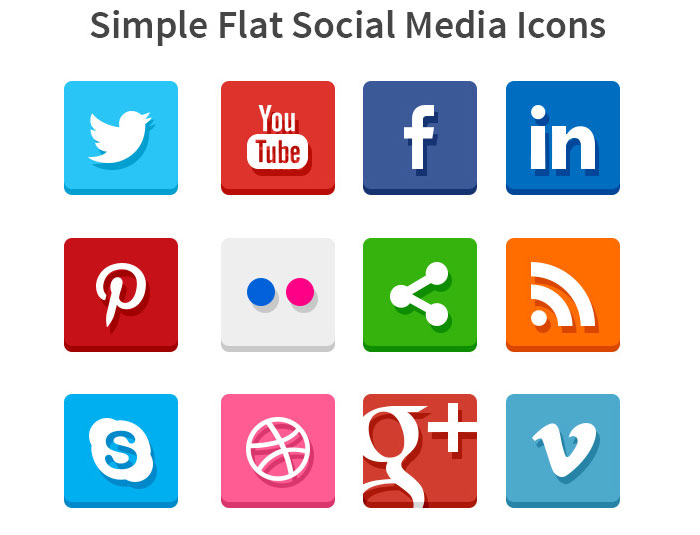
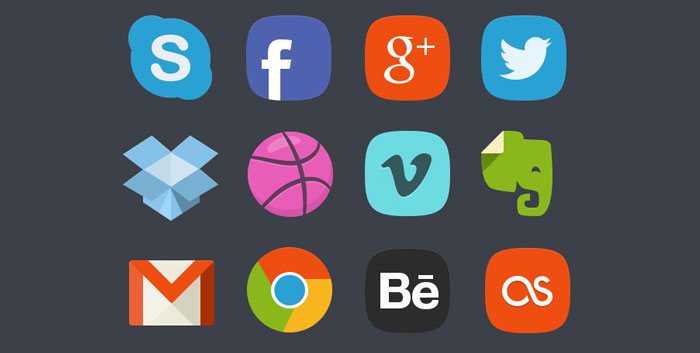
This collection provided by GraphicsFuel offers a total of 20 clean and flat social media icons. These were created with shape layers in PSD format making them easily editable. These are in 114×114 size, primarily for iPhone 5 display, although you can easily resize them down to what you need for your website or other use.
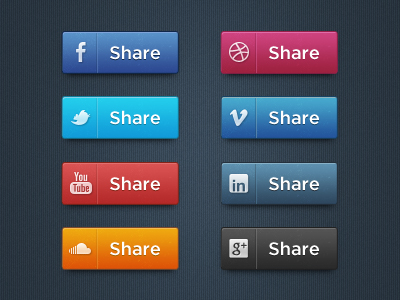
These are awesome! They mimic the look at feel of social share icons of 2014 and look fantastic. The website provides you with a PSD formatted file with the size as shown below. Unfortunately, you’ll only be able to go with the size shown or resize to fit. If you need larger icons, this set isn’t for you.
Designer: Hugo from Dribble.
These social media icons are Polygon shape and I know some of you math / geometry whizzes out there will get a kick out of these social media icons! These are AI vector file format so you’ll be able to resize to your heart’s content.
There are 15 icons total in this collection.
Author: LunarPixel from DeviantArt.

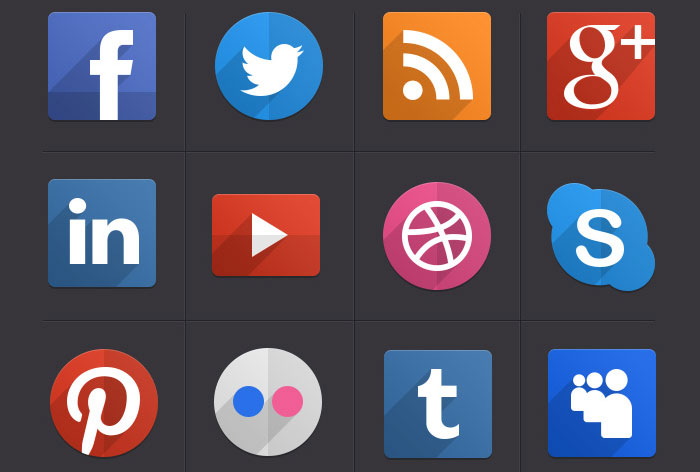
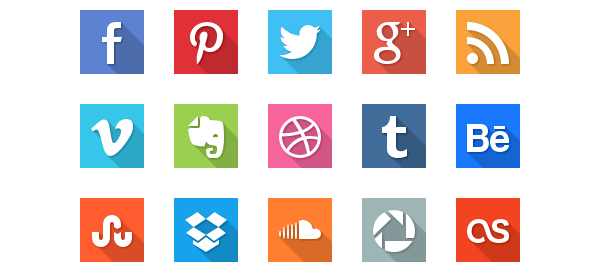
One of the latest trends I’m seeing is long shadows. Here’s an excellent set that offers 16 social icons in PSD format that includes the long shadow look and feel. This set includes various shapes depending on the icon and each design element can be removed, say, if you don’t like the long shadow.
The only thing I wish this set had was uniformity by using the same shape on all icons, but that is a personal preference.
A free resource provided by Pixeden.
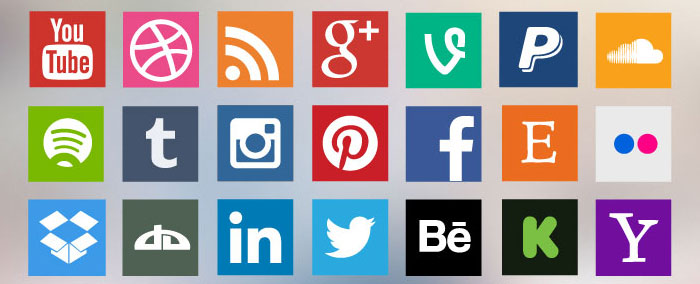
This set includes 32 different social media icons and are in EPS file format for resizing.
Author: Allan McAvoy and shared on Dribble.
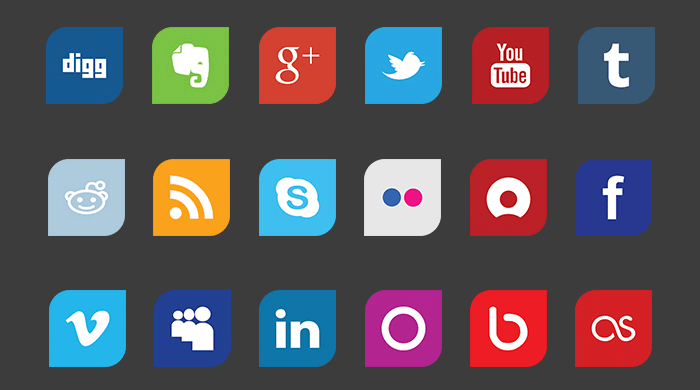
A set of colorful, flat-designed icons for 30 major social media networks, including Facebook, LinkedIn, Google Plus, MySpace, Vimeo, YouTube, Tumblr, and more. The set works great with both bright- and dark-color background.
This package includes PNG, ICO, and PSD formats. There are 30 icons in this collection all at the size of 256 x 256px.
Designed by: Probal Kumar D. Released by WHSR.
This set includes 40 social media icons inspired by Google’s new visual style of long shadows.
Each icon comes in 4 sizes:
- 32×32 px
- 64×64 px
- 128×128 px
- 256×256 px
Shared by: GraphicBurger
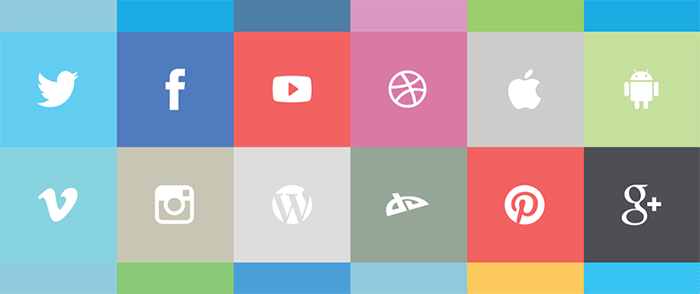
This icon set is as flat as you’ll ever find for social media. If you are devoted to the ultra-flat designs that were made popular in 2013, this icon set might be right up your alley. There are 24 icons in this set and it includes four varied styles to choose from:
- Square
- Circular
- Light Corners
- Dark Corners
This set also includes 5 sizes to choose from from 512×512 px to 16×16 px. The file types included are AI, EPS, and PNG. The file includes well-organized groups to change colors and sizes.
Designer: Mohammed Alyousfi
Shared by: Speckboy
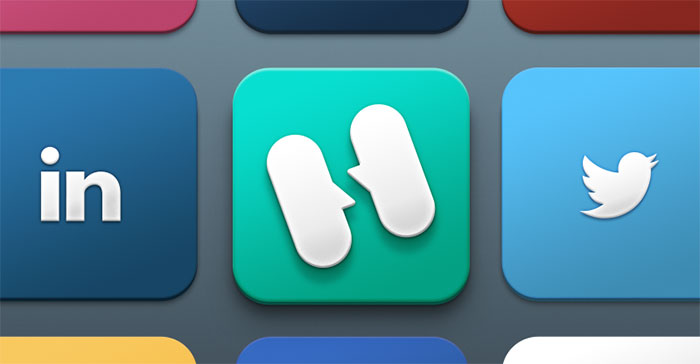
These social media icons include shadowing at the bottom with a general square share that includes rounded corners. This set includes PNG and a PSD for editing.
Provided by Will Francis of Harkable.
This social media icon set is elegant and comes in both dark and colored versions to use on your website. If you know how to code CSS sprites, you could really do a nice mouse-over effect with these that will make your social media POP.
Includes 24 icons and is provided by BestPSDFreebies.

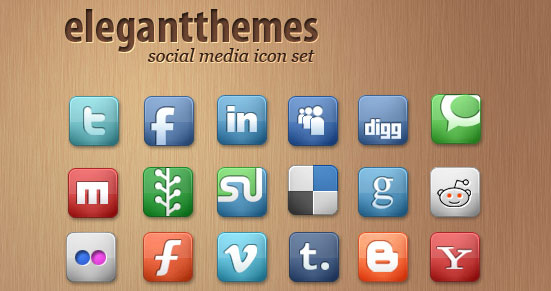
This set includes 42 icons at 64×64 px size in PNG and PSD formats.
Designer: Nick Roach
Made Available on Elegant Themes.
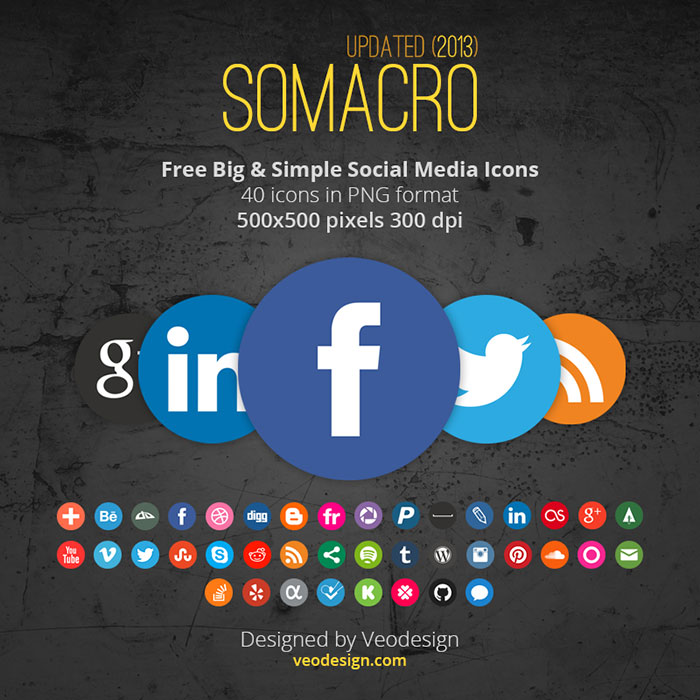
One thing that caught my eye about this set is it is constantly being updated. It has gone through 5 edits since initial launch, which is quite amazing!
All 40 icons are in PNG format at the size of 500×500 px in 300 DPI for maximum flexibility. At 300 DPI, you can use these for both print and web, which is a nice bonus for those looking for social media icons for presentations and resumes.
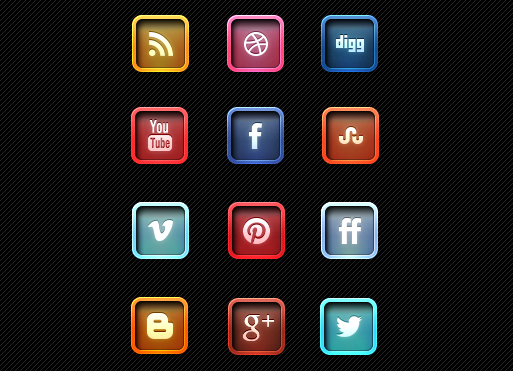
This is a nice collection of 20 badge-based social media icons. Each badge is crafted by Photoshop shapes so you can edit, alter, and resize them to your needs.
Designer: Denis Shepovalov
Provided by: Best PSD Freebies
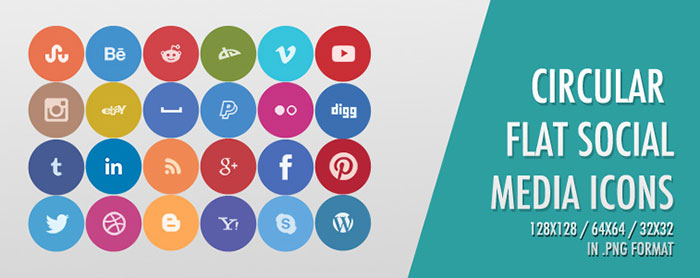
This set includes 24 circular icons made available in PNG format. The sizes available are:
- 32×32 px
- 64×64 px
- 128×128 px
Designer: Pauline Cabrera
Provided by: OneXtraPixel
Editor’s Note: Download requires email opt-in.
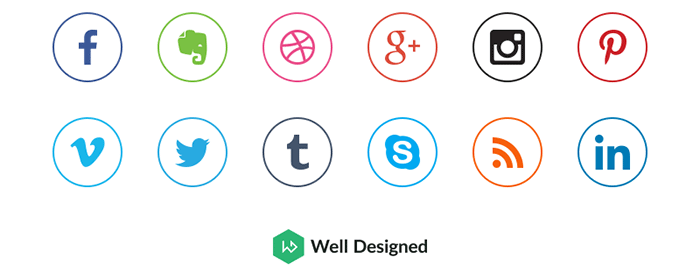
These caught my attention because they are extremely clean and mean for those minimalistic designed website themes. All images are in PNG format and are 80×80 px in size.
Designer: Dawid Dapszus
Company: Well Designed
Provided on: Dribble
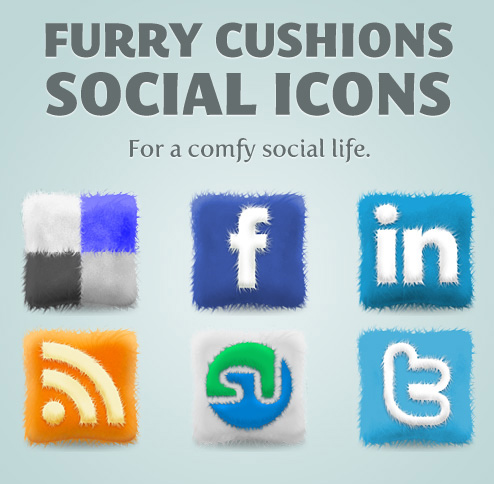
Well aren’t these unique?!? There’s only six styles provided here since it is an older social media icon set but thought I’d provided it here for some pizzazz. All images are transparent in PNG format. The sizes available are:
- 48×48 px
- 64×64 px
- 128×128 px
- 256×256 px
Designer: Andrea Austoni
Provided by: Noupe
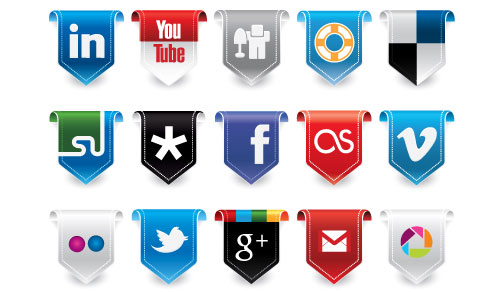
Here is another set of social media icons that caught my eye for their uniqueness. These 25 social media icons were created Adobe Illustrator CS5 and are completely scalable to any size you need. The shadows are semi-transparent so you can use them on various background types.
Includes an AI and EPS version.
Designer: Jasmina Stanojevic
Provided on: Noupe
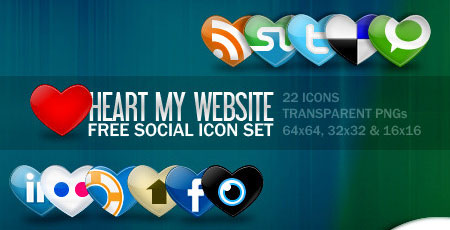
Since this post was made a week before the US Valentine’s Day holiday, I thought I’d include a hearts social media icon set. This set includes 22 icons in PNG format it sizes:
- 16×16 px
- 32×32 px
- 64×64 px
Designed by: Aravind Ajith
Provided on: Smashing Magazine
This set is interested because they are completely transparent and bleed through to your website’s background. Therefore, if your website has a dark background, this icon set might be perfect for you. You can’t use these on a light background because they won’t be visible.
This set includes 7 sizes from 48×48 px to 512 x 512 px. If you need a vector AI file for this set, there is one available for a $3.00.

These are really interesting and provided by yaruno on DeviantArt. The only issue I see with this set is they aren’t provided for download. However, you can download a higher resolution image of this set and attempt to crop out these if you’d like?
A very unique social media icon set offers a “letter-pressed” look. I haven’t seen a set like this before, so I knew it belonged here. This set includes 12 icons with the size of 75×75 px.
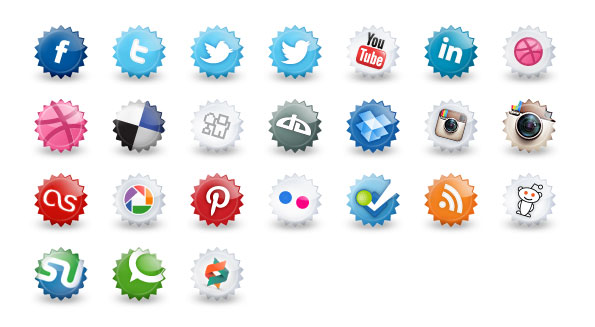
These remind me of bottle caps so that’s what I’m calling them. They look absolutely fantastic and come with 2 variants, with shadow or without. This is actually a set of 86 PNG icons that contains social media icons, web browser icons, payment services icons, mixed services icons, and even Czech local services icons.
This set includes the following sizes:
- 64×64 px
- 48×48 px
- 32×32 px
Provided by: Plugo Labs.
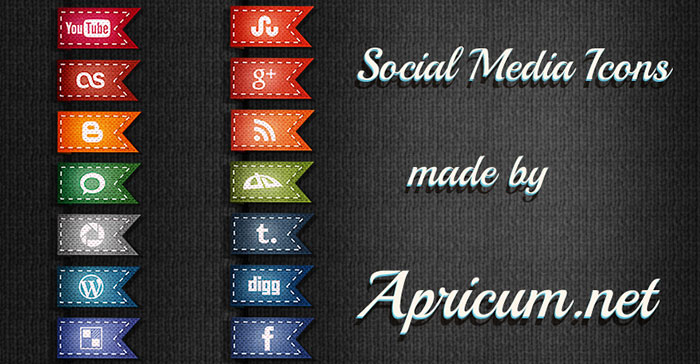
This is a set of 24 social media icons in PNG format with the size of 100×50 px.
Provided by: Apricum
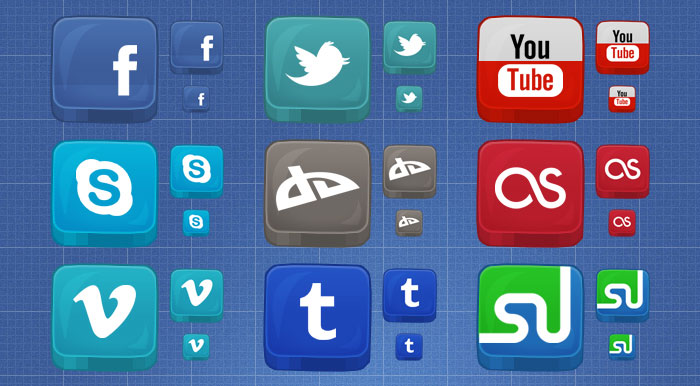
This set includes 12 icons in total with the size of 64×64 px. I liked this set for the grid pattern that is included in the icons which provides an interesting feel.
Designed by: Timothy Blake
Provided by: Creative Nerds
This metal set of social media icons includes 12 icons in total with the size of 64×64 px.
Designed by: Timothy Blake
Provided by: Creative Nerds

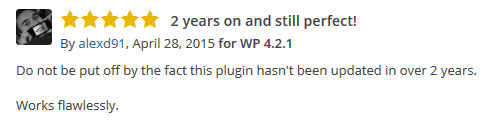 Note: This plugin hasn’t been updated since July 29th, 2012 at the time of this guide, yet, if you read the plugin reviews, you’ll notice that people are still using and recommending this plugin for those having this 404 issue with using a category permalink structure but removing the /category/ out of their URLs.
 For those of you that have a cPanel web host, usually you’ll just need to add a /cpanel to the end of your domain name. If that doesn’t work, then head over to your web host’s control panel and find the cPanel access link from there to get where I started this video.
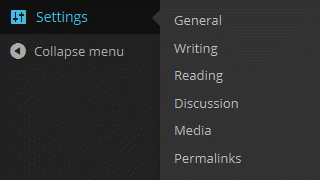 In this guide, we walk you through all of the default settings of WordPress and also cover the WordPress dashboard main screen. In the video below, we cover the general, writing, reading, discussion, media and permalinks settings and also go over why we make the recommendations that we do.
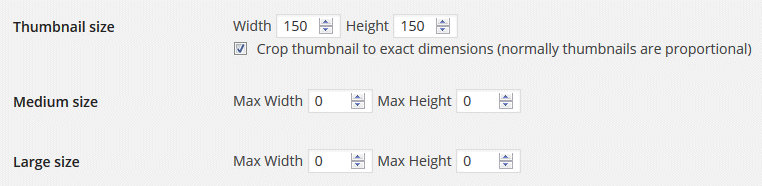
 Sounds expensive Scott. How much? This is the best part. If you use our site and link below to order, you’ll get over 50% off their normal pricing. This is an exclusive offer that we have because I spent years getting to know their staff and company. Take advantage of it now!
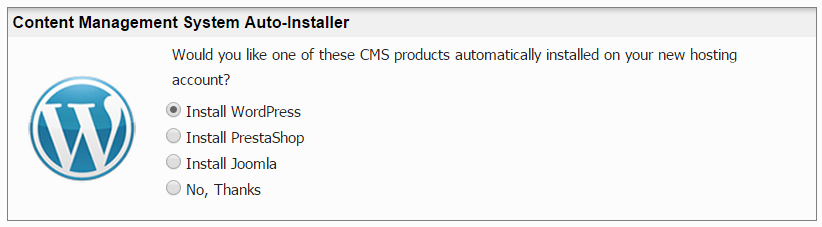
 If you already have a web hosting plan, you may still be in luck to get WordPress setup and running with little hassle. Head over to your web host’s sales pages and look for mentions of anything that references an installer for the most popular Internet software. If you see that, you are in luck!